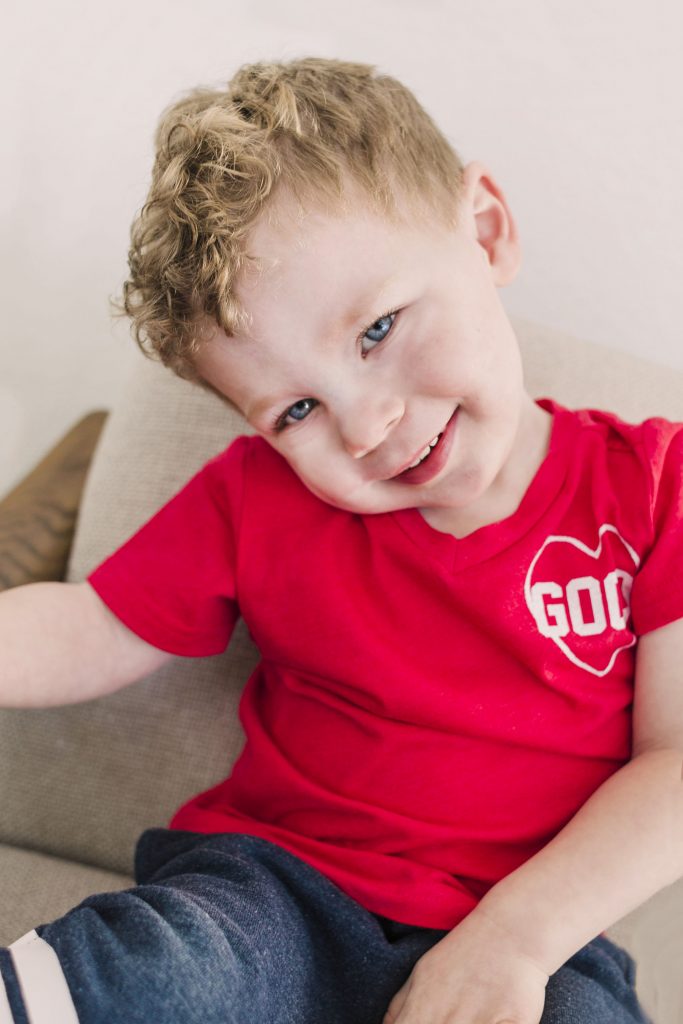
I have to say, I’ve loved every stage, but three is proving to be particularly fun with all of its enthusiasm. When I started to explain Valentine’s Day to Crew, and that we were going to make valentines to give his friends, he was ON. BOARD. to say the least.
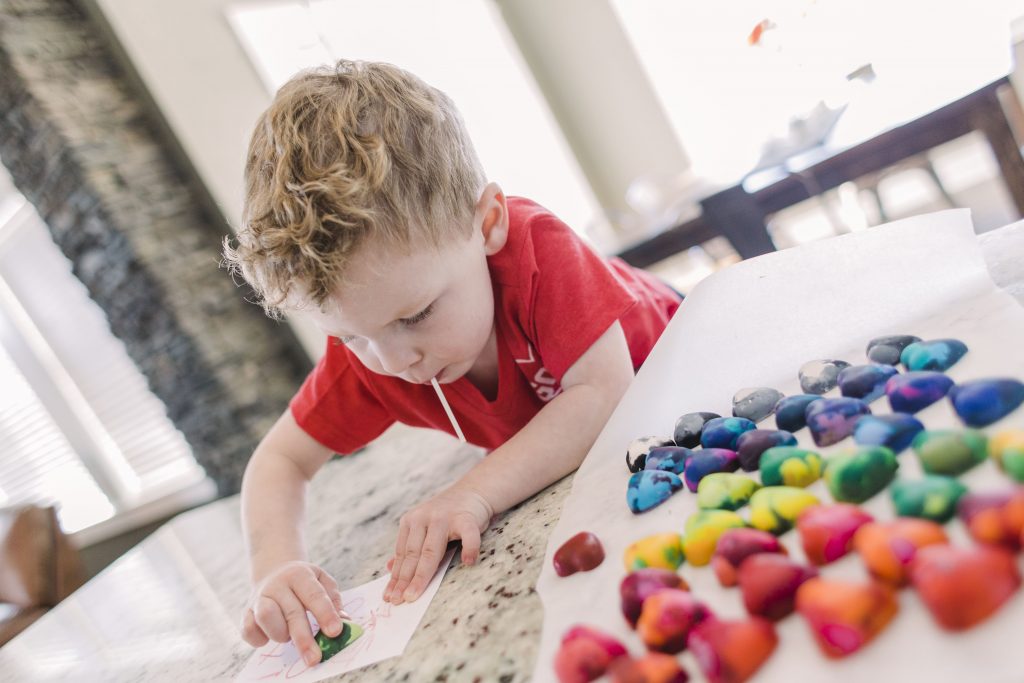
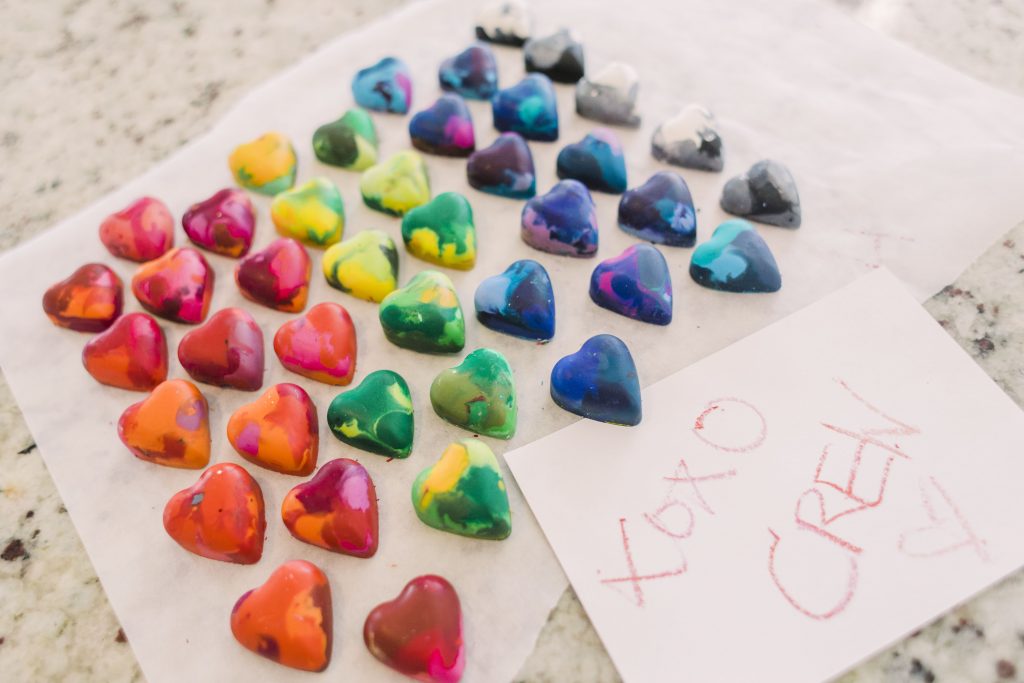
I started with something he could truly make — you’ve seen these all over Pinterest — heart-shaped crayons. I will say, grouping these into like colors is key…they look like a hot mess if you just mix random hues. Also — tip: Soak the crayons in warm water to make the paper wrappers easier to remove. Once bare, break them into pieces and bake for 15 minutes at 250, popping them out once they’ve cooled. We used this silicone mold and it was the perfect size and super easy to remove the hearts.
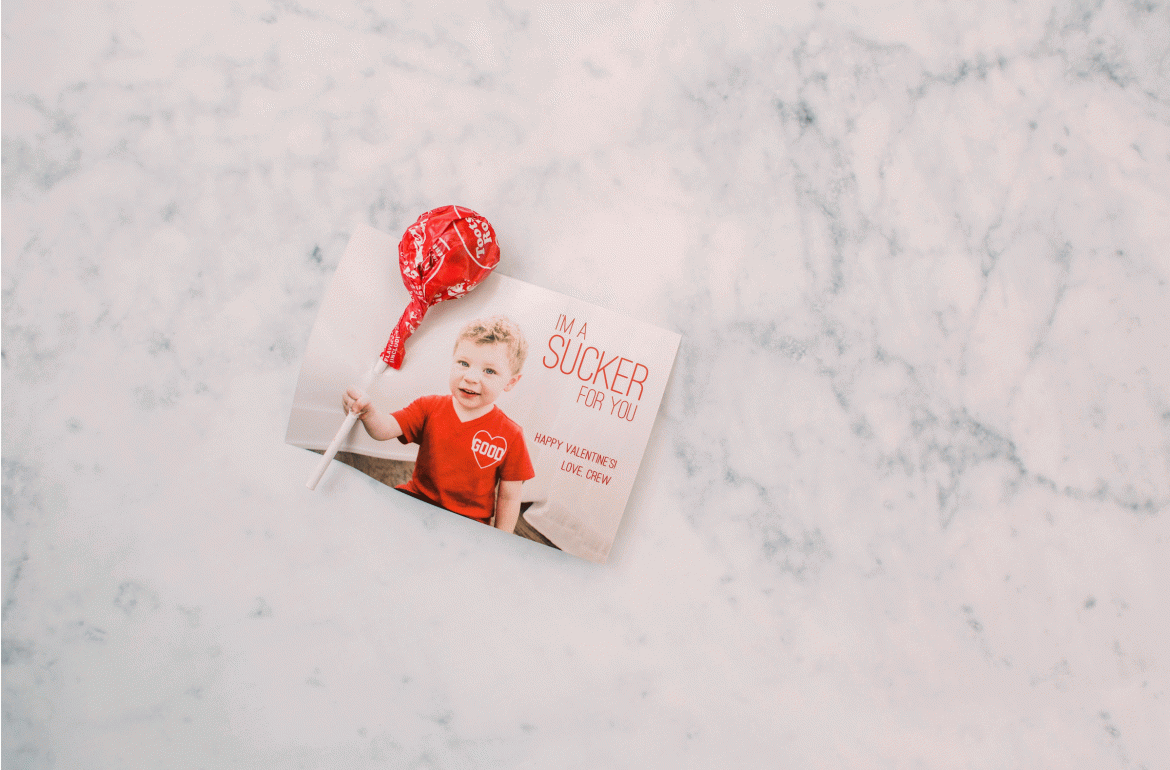
I thought about making the crayons part of his cards, but instead we focused on the holy grail — suckers. Another idea I can’t take credit for, as it already exists around cyberspace: 3D sucker cards. I put Crew in his VDay shirt and among MANY outtakes, (so much “cheeeeese” and eyes closed lately — coupled with holding his arm the right way!) we finally got a shot we could use.
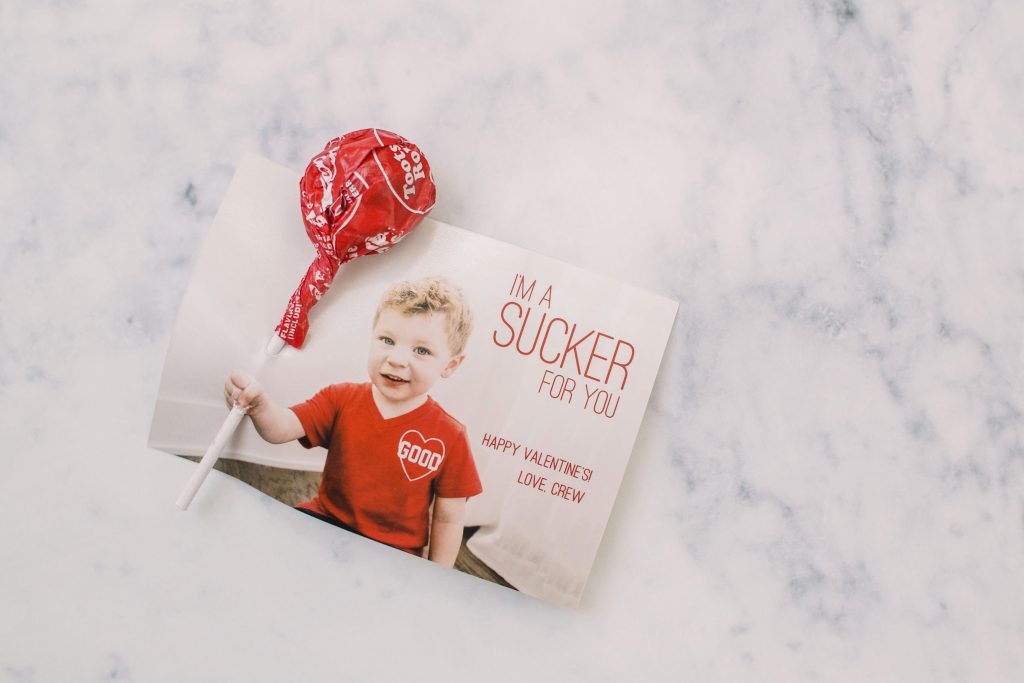
If you attempt this, definitely ask your kiddo to hold his/her arm out in FRONT of them (so the hand is as large as possible to give you space to poke the sucker through) and also out to the SIDE (so the sucker doesn’t end up in front of their face). Don’t shoot too close, allowing plenty of room on the sides to hold both the weight of the sucker and any message you want to add. I laid my text out in photoshop, sampling the red font color from his shirt. I can’t say enough good things about printing with Mpix — I send all my photo clients there! — and when wallets didn’t seem quite big enough to support the suckers, but 4×6 seemed like overkill, I went with 3.5 x 5 prints.
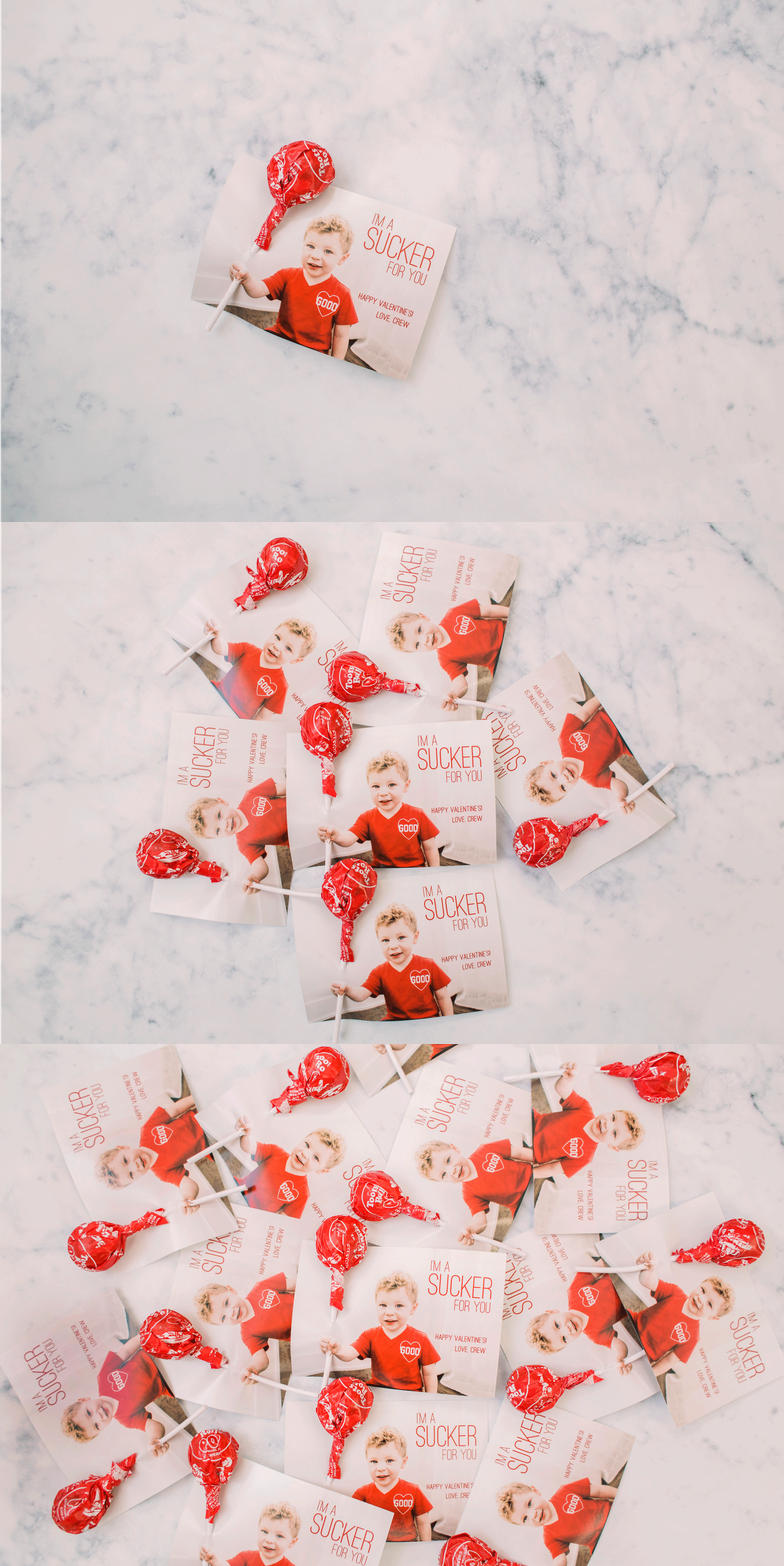
You might say we’re suckers for a good holiday project. 😉
