
Today, I wanted to share my favorite tips and tools for decorating (full disclosure: I’m not a professional baker, I just do this for fun!) as well as my favorite icing and dough recipe (after many, MANY rounds of trial and error!).
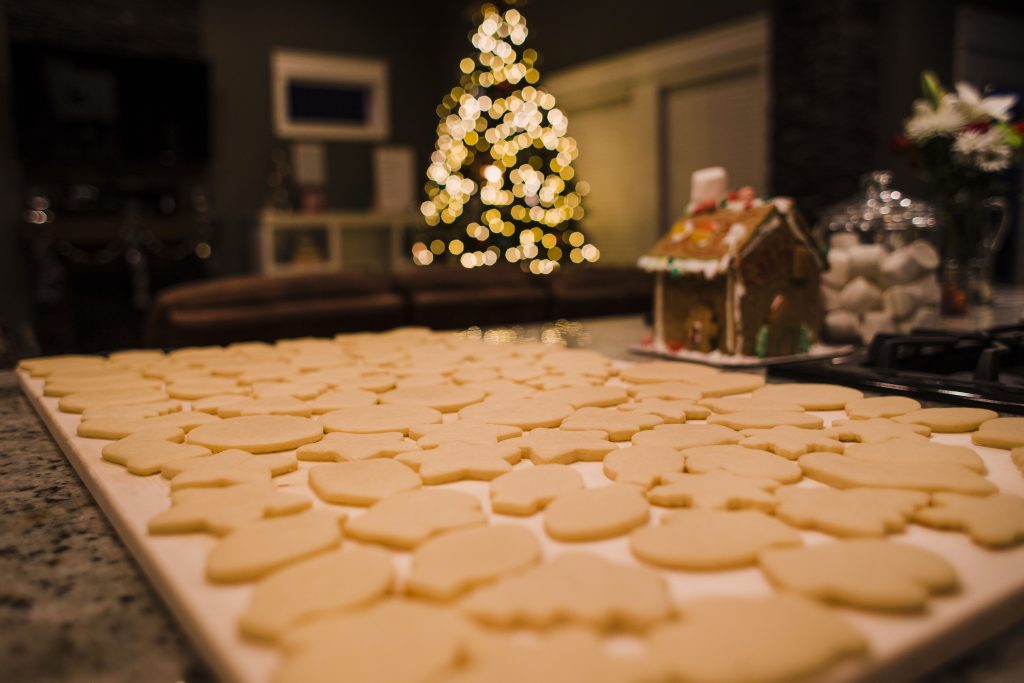
BAKING THE COOKIES
Let’s start with the cookie. I love THIS recipe for my sugar cookies – the shape you cut out won’t bloat or expand much, what you see is what you’ll get! I follow it exactly, and to her point, I’ve frozen the dough before when I make extra batches, but do let it come ALL the way to room temp before you start working with it. By far, it works best to whip it up and use it right then without storing/cooling time.
I keep a stash of cutters in our pantry (they double as sandwich cutters for Crew’s lunches, too). I have holiday-specific ones, but a favorite year-round set has been this alphabet set as Crew wants to spell his name or it’s fun to gift someone a little set of cookies that spell out “JOY” or “LOVE” or “BOO” depending on the time of the year.
You can roll your dough out on your floured counter, (I use a regular wooden rolling pin, nothing fancy) but Page specifically cut a giant piece of pine to perfectly fit one half of our island and sanded it super smooth. We originally wanted it for rolling out pasta dough, but it doubles as my cookie surface now. At the recommendation of the chef we learned to make pasta from, we picked up a large drywall trowel that we only use in the kitchen to scrape off caked-on dough and extra flour when we’re done (genius). My exact cookie sheets are no longer available but these are identical (the textured surface makes it nearly impossible to end up with stuck-on cookies) and to keep them nice, I only use them for baked goods (we have separate baking sheets for pizza, snacks, and anything else). Of course, use ALL the flour when cutting out your cookies – I dip my cutters in it, and keep it liberally sprinkled everywhere, rubbing it onto the surface, the dough, and the rolling pin every so often.
MAKING AND COLORING THE ICING
I won’t lie — baking the cookies is the easy part, but I also thinks it’s the less fun. Now you get to be creative! I first learned some basic techniques in a local bakery cookie class. I went home and practiced, and have evolved how I do the next part, so I’ll share both ways below. First, you need some royal icing. Again, after MANY different tested recipes, I like THIS recipe because it dries firm enough to stack your cookies, but not rock hard like so many versions (you want them to look AND taste good!). They have the slightest shine to them when they dry, and there’s no egg white like some, so you don’t have to worry about them sitting out.
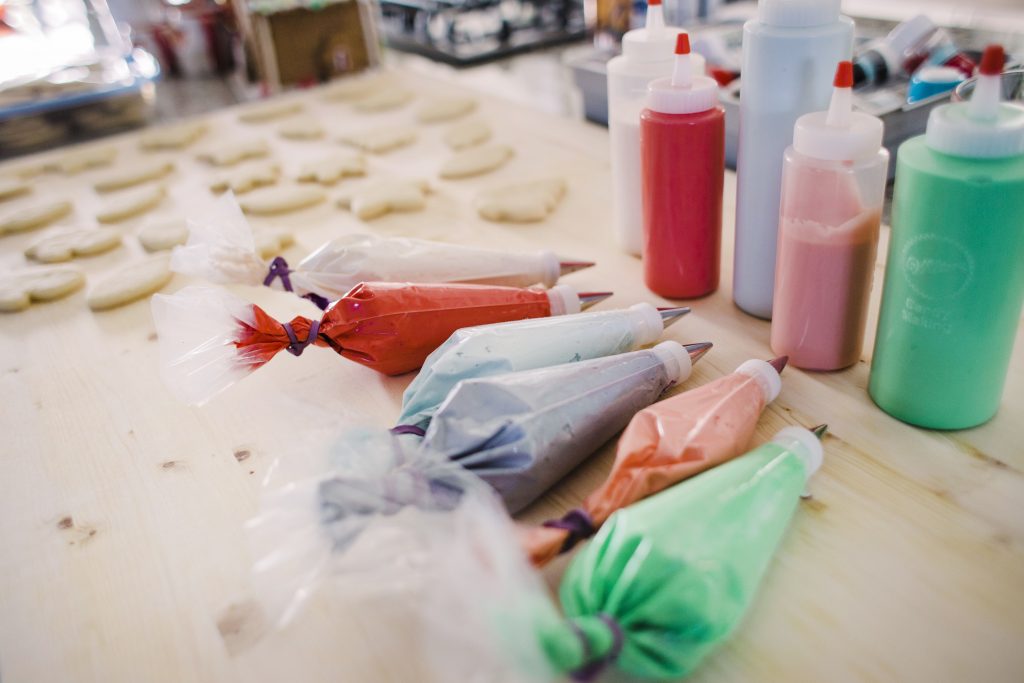
After you’ve whipped up your batch of frosting, divide it into bowls, depending on how many colors you want to use. (I use Pinterest all the time to get inspo on color palette, and I pick out a handful of cutters I know I want to use, and determine my colors accordingly.) Your icing, well covered, has a shelf life of about a month, so I’ve gotten in the habit of mixing each color directly in a food storage container with a lid, so I can keep any leftovers if I want to. I’ve tried a few kinds of food coloring and have come to love these the best. Tip: you will need WAY more red and black compared to the others to get a true red or black, so I buy the bigger bottles of those colors. It was a game-changer to learn that to get an even wider color palette, you can add ivory food coloring to your pure-white icing to get a whole bunch of softer colors.

Piping and Flooding
This is how I originally learned to frost and it’s how I frosted the IOWA cookies, above. For this technique you’ll need icing bags and a basic icing tip and couplers for each bag/color you plan to use (this video can explain how to to put your tip on your icing bag better than I can explain in writing.) You can play around with different tips, but I always go back to the no.3 as my sweet spot. You’ll also need a few squeeze bottles (I’ve used and like both this style and these).
For each color of icing you’ve made, you’re going to divide it in half. Spatula half of it as-is (thick) into an icing bag and tie it off with a rubber band or I do like these to hold them closed. With the remaining half of each color, add a few drops of water and remix, SLOWLY adding more water until the icing is the consistency of runny glue. Once you have that, pour it into a squeeze bottle. NOTE: I once did this out of order and split up my icing BEFORE I’d colored it — you want to color it first so it’s consistent and matches perfectly. Huge headache to try and do this after you’ve split it up!
Start with your piping icing (in the bag) and outline your cookie or the portion of the cookie you want in that color. It should be nice and stiff and hold its outline shape. Take your matching flooding (squeeze bottle) icing and outline JUST inside your piped icing, getting as cloooose as possible even overlapping a tiny bit without going outside your line. Once you’ve done a full outline, just squeeze all over “flooding” and filling in your outline. It feels extra, but this tool is INVALUABLE in popping any air bubbles you might get while flooding before they dry.
All-At-Once
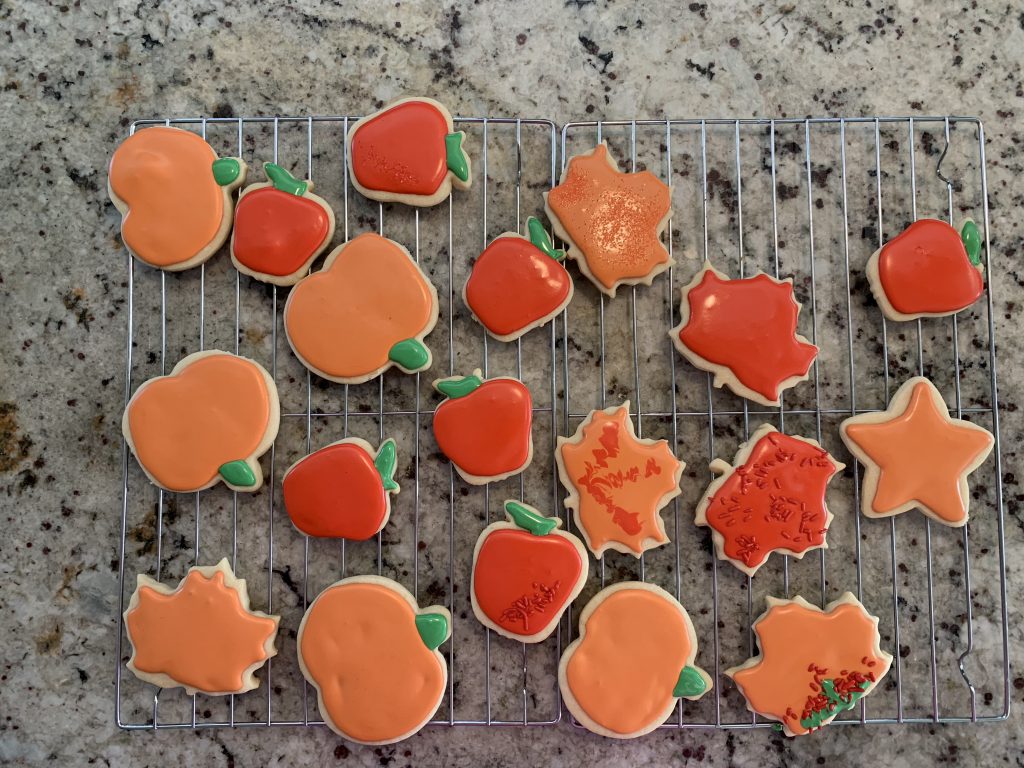
I did the piping and flooding method for a long time and still sometimes do if I need super precise detail. But in the batch above, as a time and clean-up saver, I’ve also tried for ONE icing color consistency just a tad thicker than the glue and as my hands have gotten steadier, I just pipe the thick-flooding as my outline and fill right in from there. This definitely takes practice and if it’s even the slightest bit too watery, it’s a hot mess (and no I hadn’t yet popped air bubbles in the shot above ha!). But I mention this option for anyone wanting to try!
To finish it off, I love some sprinkles or simply dragging toothpicks through the icing to make pretty designs. There are zillions of YouTube videos on simple decorating techniques once you’ve got the basic icing down. A favorite sprinkle look (seen in the footballs above) is a clear piping gel design, then sprinkle a sugar on top and shake off the excess.
Happy decorating and of COURSE be sure to taste test throughout the process! 😉
