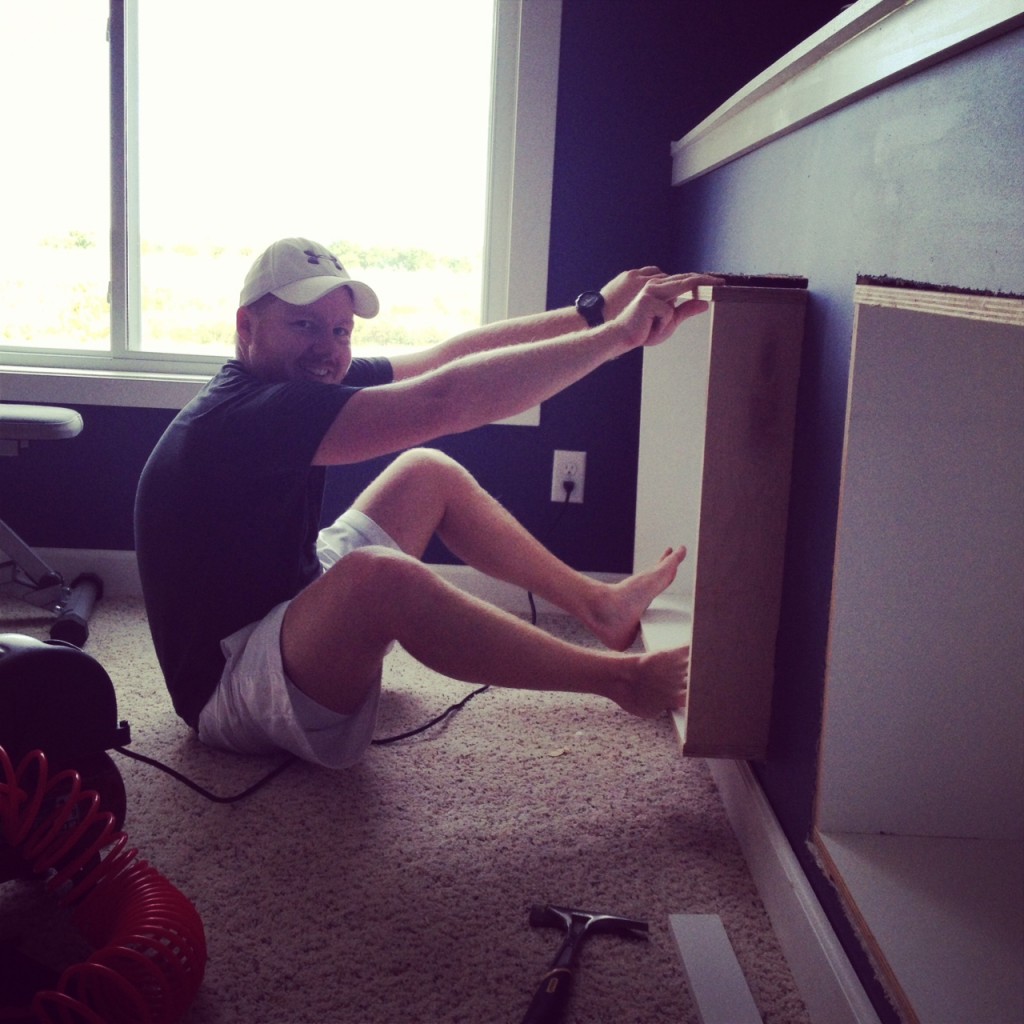
There were days when I couldn’t imagine what writing this post might feel like … but it’s official, we’re DONE with our basement!
This post got VERY long in its original format, so I’ve split it into two parts. Today’s half is to refresh memories on the progress we made up through January, along with plenty of updates since we resumed work this summer. The second post later this week will have the reveal!
We originally estimated finishing the basement would take us five months, figuring a couple weeknights here and there, and a Saturday or Sunday most weekends. In the end, it took closer to eleven months. (Page tore his ACL on a ski trip and we took about 5 months off from this project.) So all things considered, it took about the time we originally estimated, and with the few unforeseen expenses we knew would happen (we just didn’t know WHAT they would be or when they’d pop up) we came in pretty darn close to our original budget estimate.
So to refresh your memory as to where we started, here are some photos of the “befores” taken in August when we were starting to plan what we wanted to do with the space.

Following August are some “in progress” shots along the way.
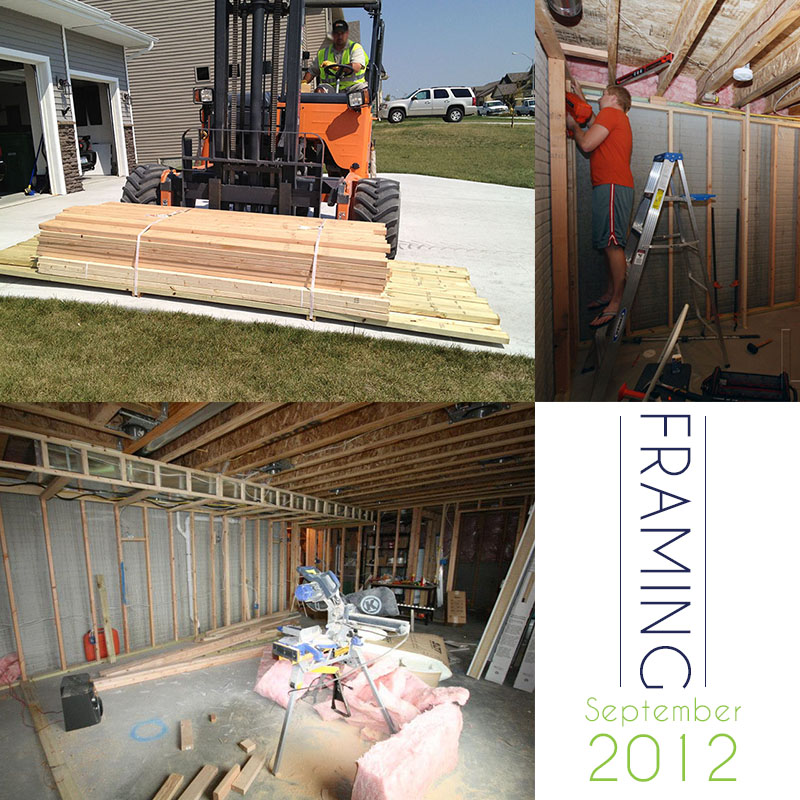
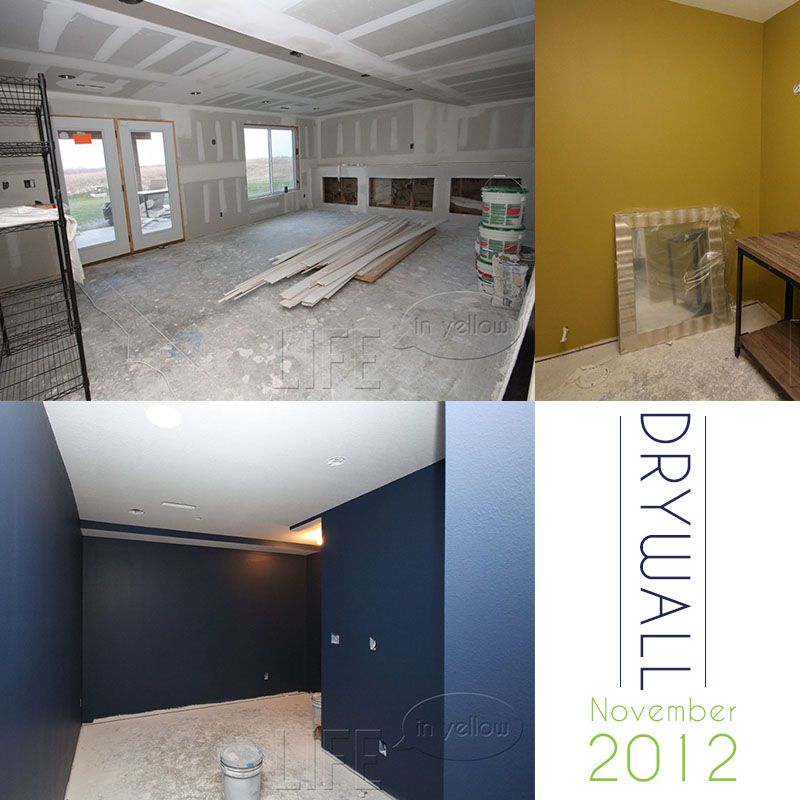
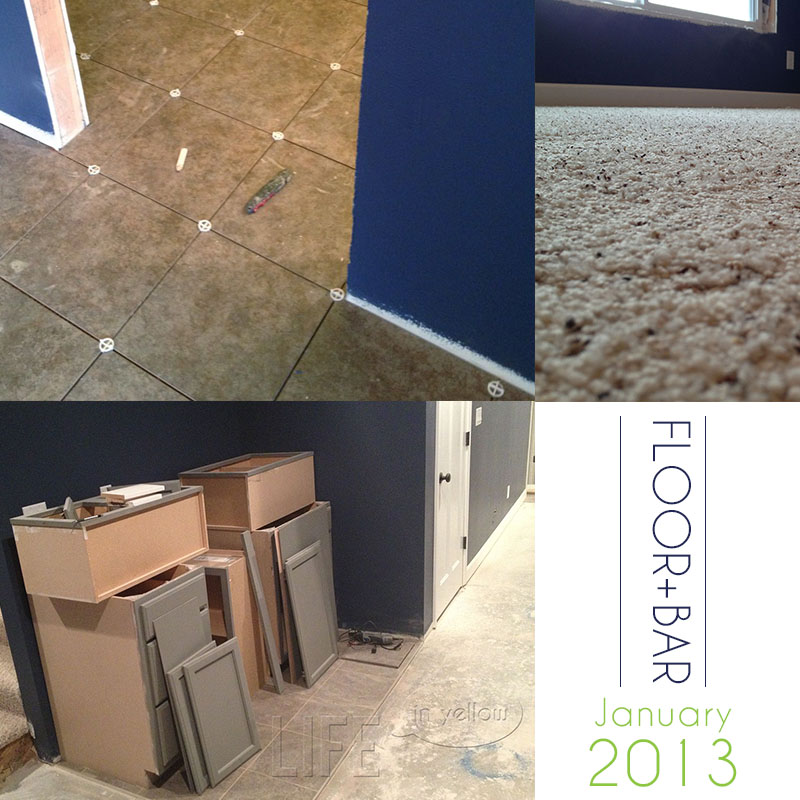
You’ll notice the date – January 2013 – was where we last left off. Not far from the home stretch, Page underwent surgery for his knee in February, and any amount of kneeling, crouching, and getting up and down repeatedly was out of the question for a few months. I helped out where I could to keep things moving along, but we weren’t able to resume major progress until mid-summer.
Our home stretch to-do list included the following from late June through July:
- Paint the unfinished portions of the door/window frames
- Add trim around the window
- Add crown moulding around the bar cabinets and pick up beverage fridge
- Build a “counter” on the media wall
- Build cubbies/shelves to slide into each of the three media wall openings
- Add trim around the three cubby openings
- Touch up ALL the trim with caulk and paint (it was pre painted when we installed it, but all the nail holes and seams between pieces needed to be hidden)
- Install covers on all vents and the return air duct
- Install bath vanity and hook up plumbing
- Wash windows and doors (razoring off drywall paste drops and removing layers of construction grime)
- Touch up wall paint throughout (several scuffs had shown up during these last steps)
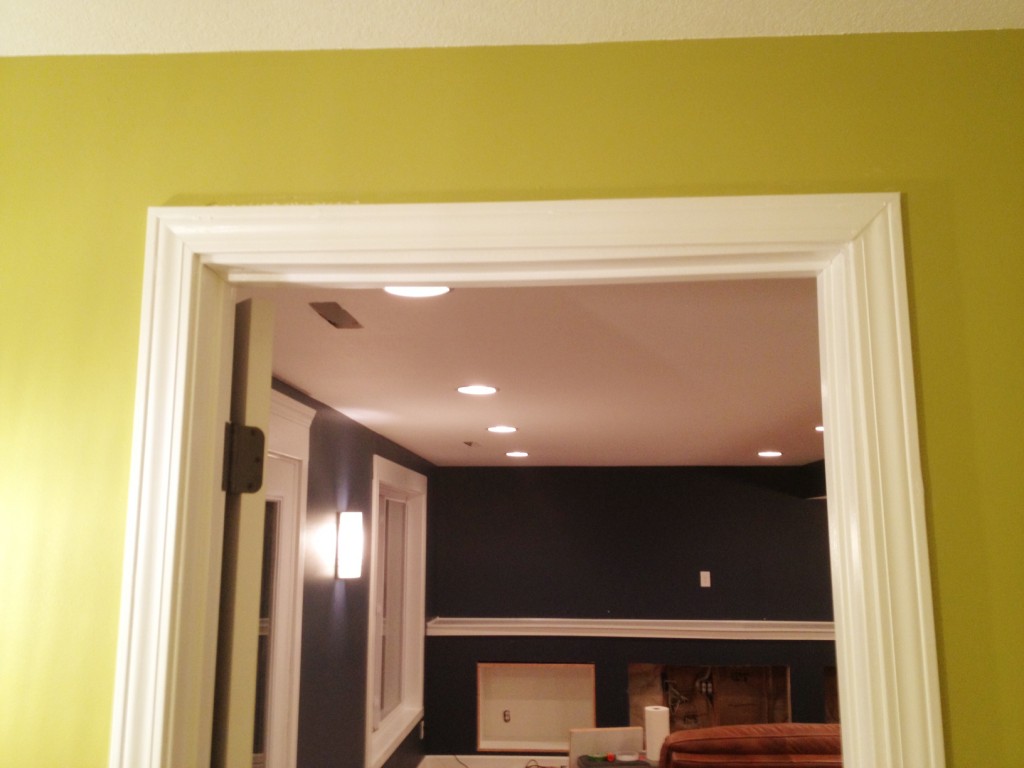
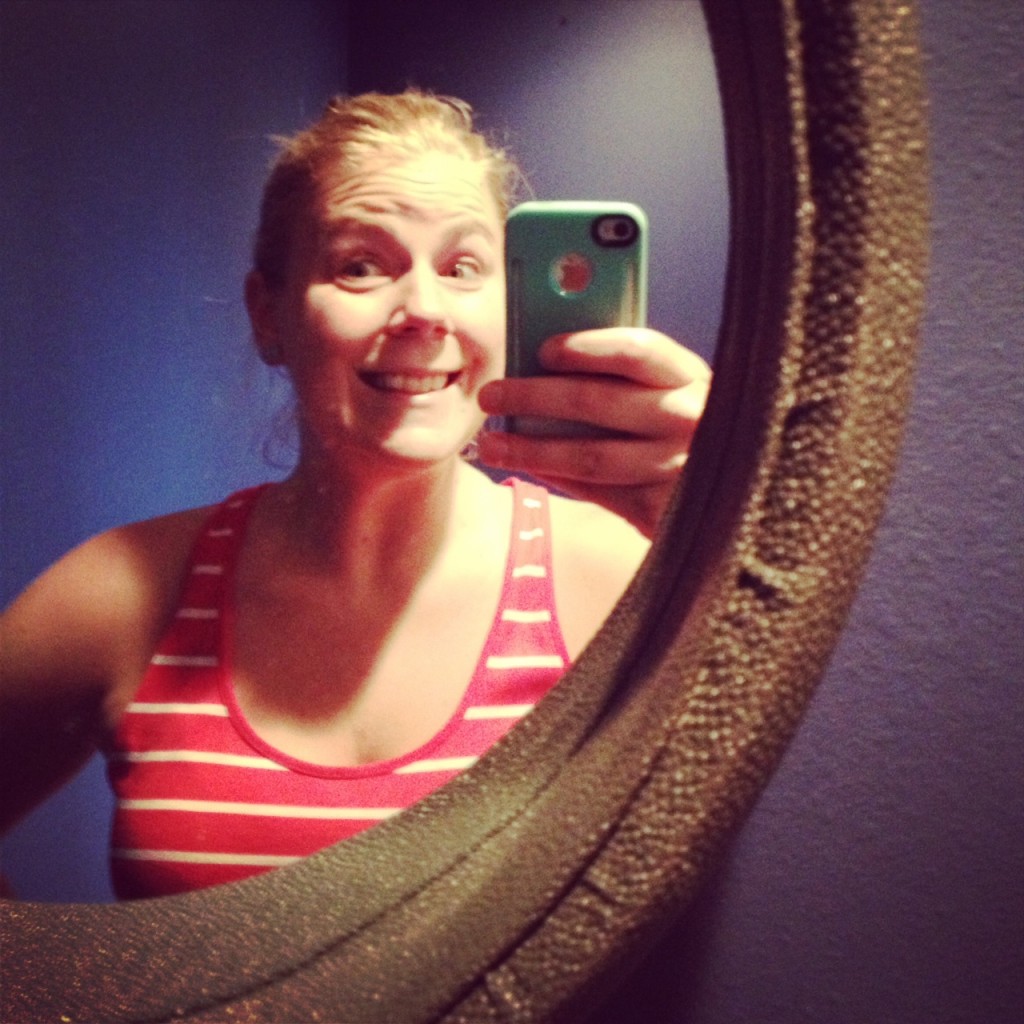
In the shot above, I was texting Page a pic of my mad caulking skills where the corners of the door frame meet. 😉 You can also see the first of the three cubbies, the counter, and the window trim, installed in the background.
Are you ready?! We’re pretty excited to share the final product…check back later this week!
(Pssst! You can read the rest of the “finishing the basement” posts right here!)


